Switching between Transaction Manager and Mapping Manager
The Foundry platform includes a handy feature that allows you to switch back and forth between Mapping Manager and Transaction Manager task pages without closing either application. This allows you to work on a map in Mapping Manager while reviewing the transaction details of an active document in Transaction Manager.
This can be achieved using the button to place applications in the Spaces. When you click on a link via this menu, the application page you are switching to will resume at the same place where you left off. Conversely, the application you are switching from will remain open (suspended in the background) until you switch back again.
For more about this feature along with other navigation options in Foundry, consult the Platform User Guide.
Example Usage
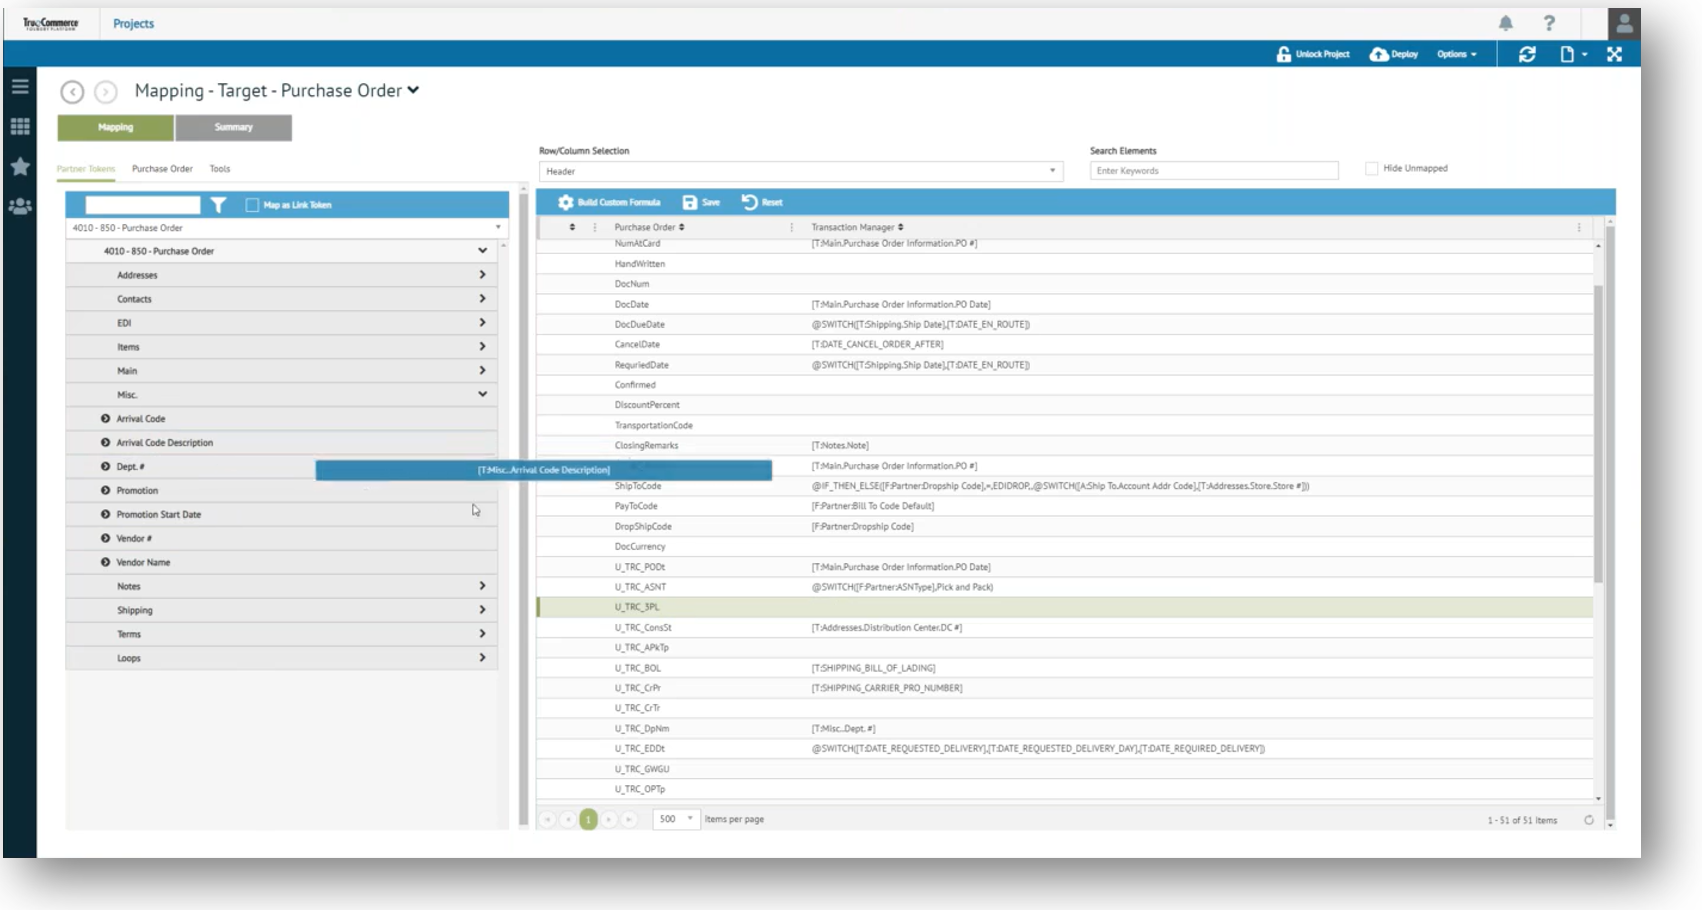
In this sequence, the Mapping Manager > Mapping page is opened (via the button) to a Target 4010 - 850 - Purchase Order map within an SAP Business One project. If you open an active purchase order in Transaction Manager (also via the button) you will then be able to use the Spaces menu to switch back and forth between applications, which allows you to review fields and data as you configure your map.
Steps for using this feature are as follows:
-
While in Mapping Manager, open the Foundry Menu.
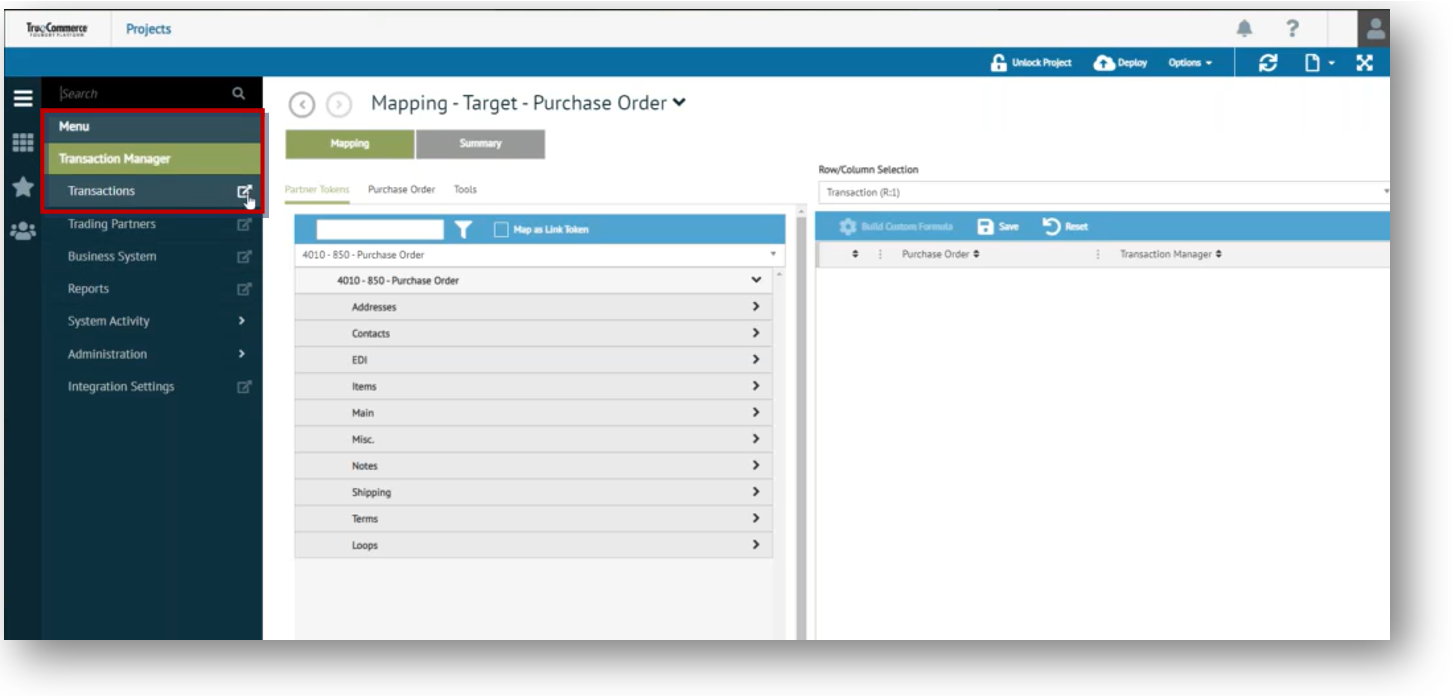
-
Select Transaction Manager > Transactions under the Foundry Menu and then click on the "breakout" button (illustrated above) to open the Transactions page, which also saves that page to the Foundry Spaces menu.
-
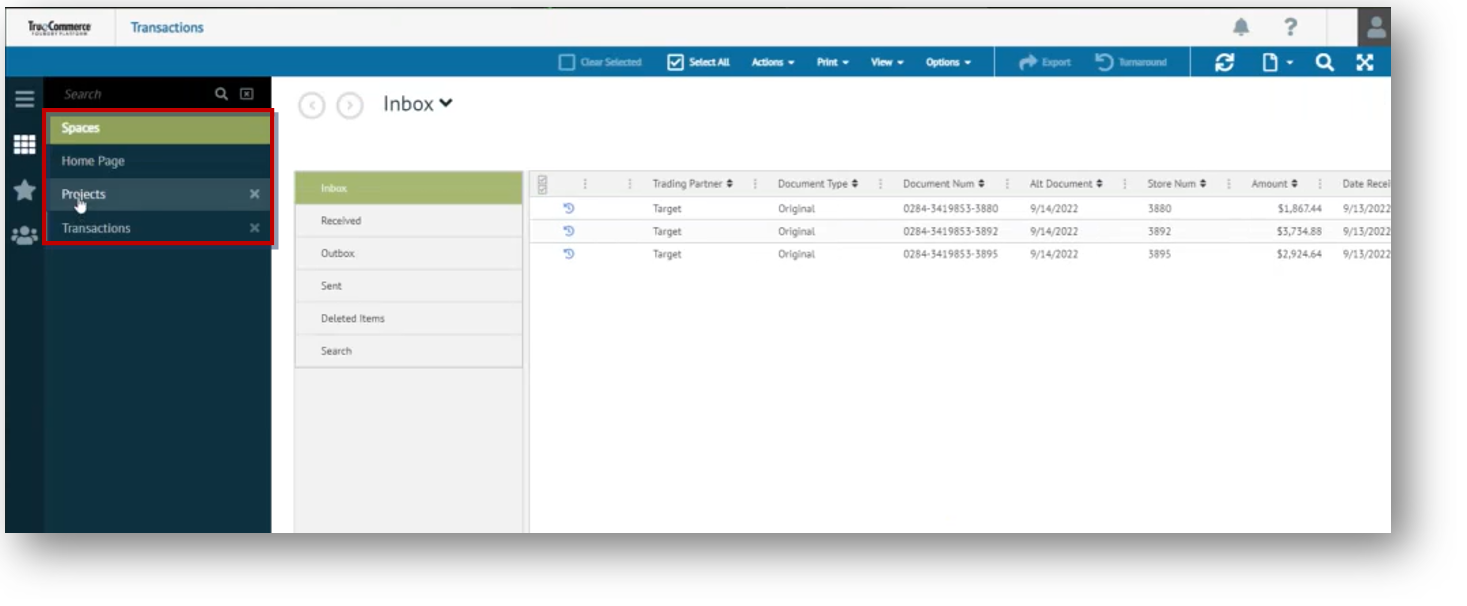
While in Transaction Manager, select an order from the Inbox to view Transaction Details.
-
Click the Spaces menu, and then select the Mapping Manager Projects link, which returns you to the Purchase Order map.
-
Switching back and forth via Spaces links you can see that Partner Tokens lists the same tabs and fields found on the Transaction Details page in Transaction Manager.
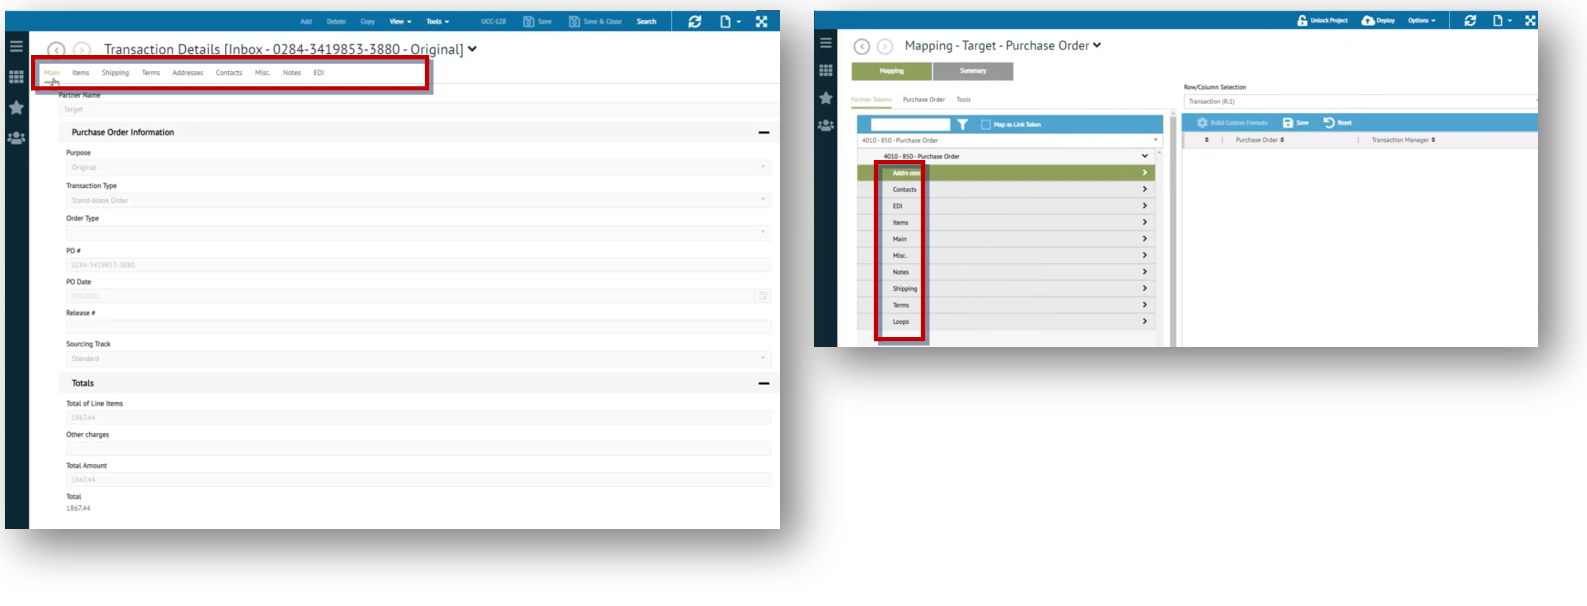
Selecting a specific tab allows you to examine specific fields. For this example, we will drill down to look at the contents of the Arrival Code Description under the Misc tab.
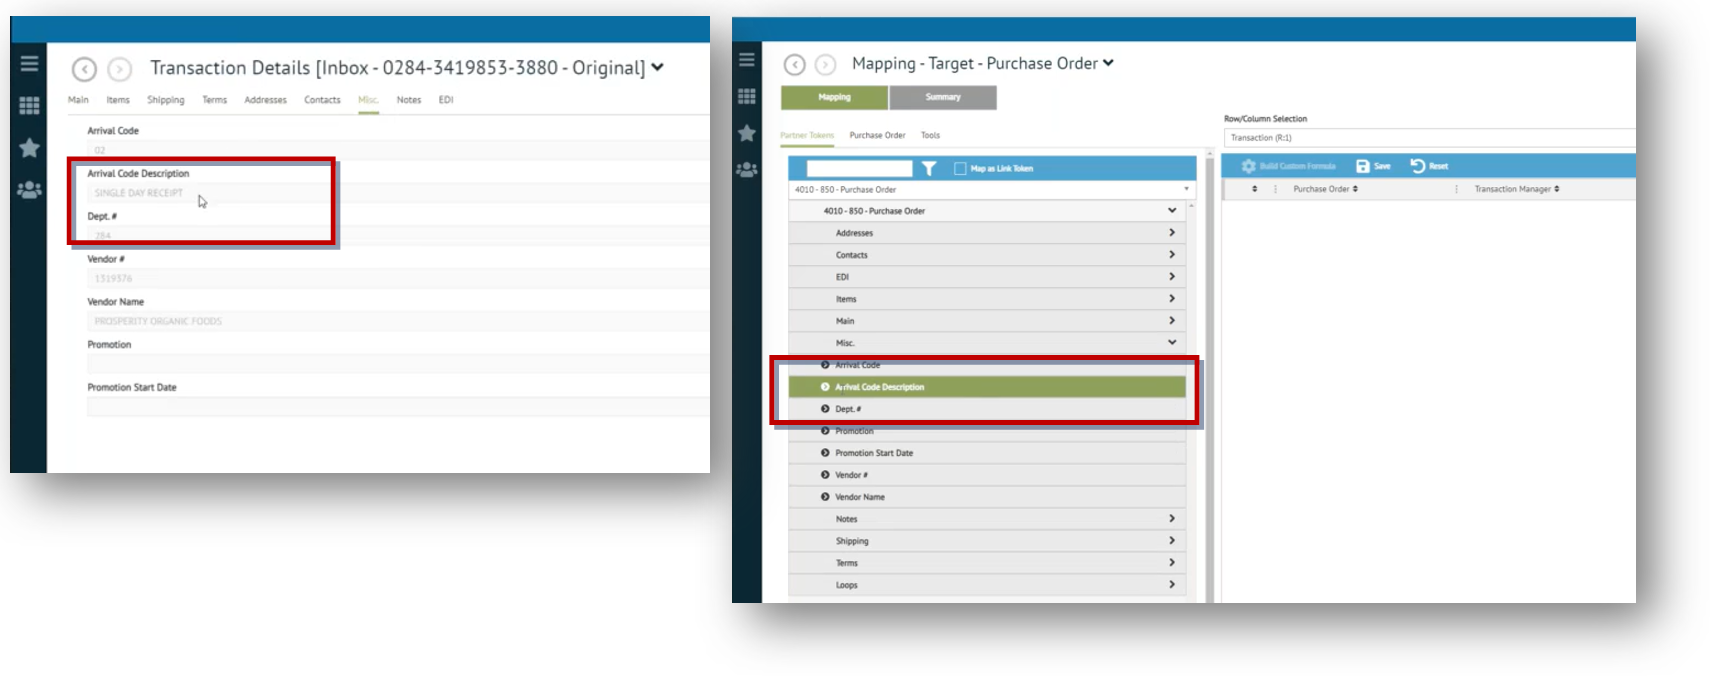
If this is the piece of data we want to capture, then we will need to find that field in Mapping Manager so that it can be mapped to a field selected from the ERP. -
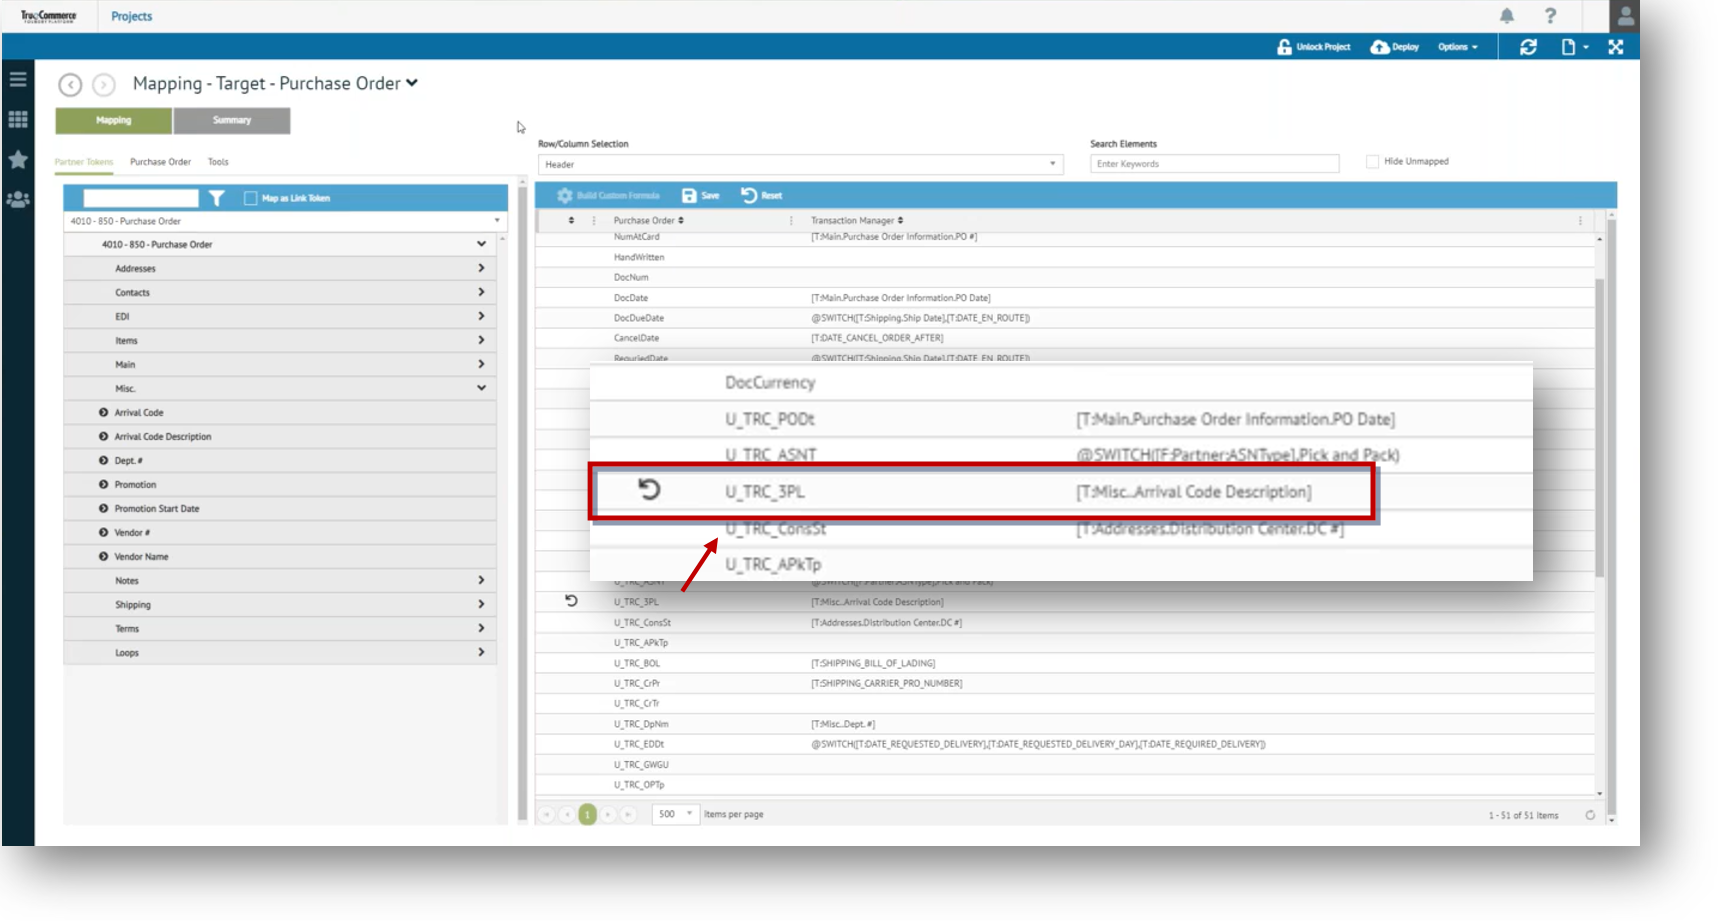
To map it, drag and drop the Arrival Code Description field information over to the desired ERP field on the right. For example below, we selected U_TRC_3PL.
The U_TRC_3PL field on the ERP side will now be used to store data captured from the Arrival Code Description field whenever you export a Target 4010 - 850 - Purchase Order.
-
Click Save on the grid control bar to commit your changes.
-
Click Deploy on the Mapping Manager Action Bar to deploy to Transaction Manager.
Related Topics