Importing and Exporting Transactions
Transaction Manager allows you manually import and export transactions, as described in the sections below.
Transactions can also be imported and exported via FTP. See Cloud Flat File Business System Setup.
Importing Transactions
To import transactions into Transaction Manager:
-
Select Transaction Manager > Transactions on the Foundry Menu to launch the Transactions workspace.
-
Select Outbox from the Folders menu.
-
Click Import on the action bar.

-
Select a company from the Import Selection dialog and then click File Import.
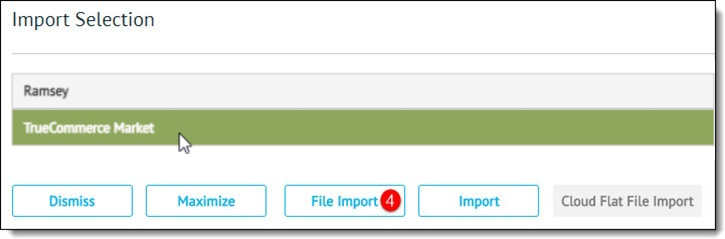
This launches your browser’s Open dialog for selecting a local file to upload. -
Select the file that contains the transactions to be imported.
Exporting to a Business System
To simplify moving transactions to the business system, Transaction Manager, in conjunction with the appropriate BSP, provides a means for exporting at the click of a button.
To export transactions to the business system:
-
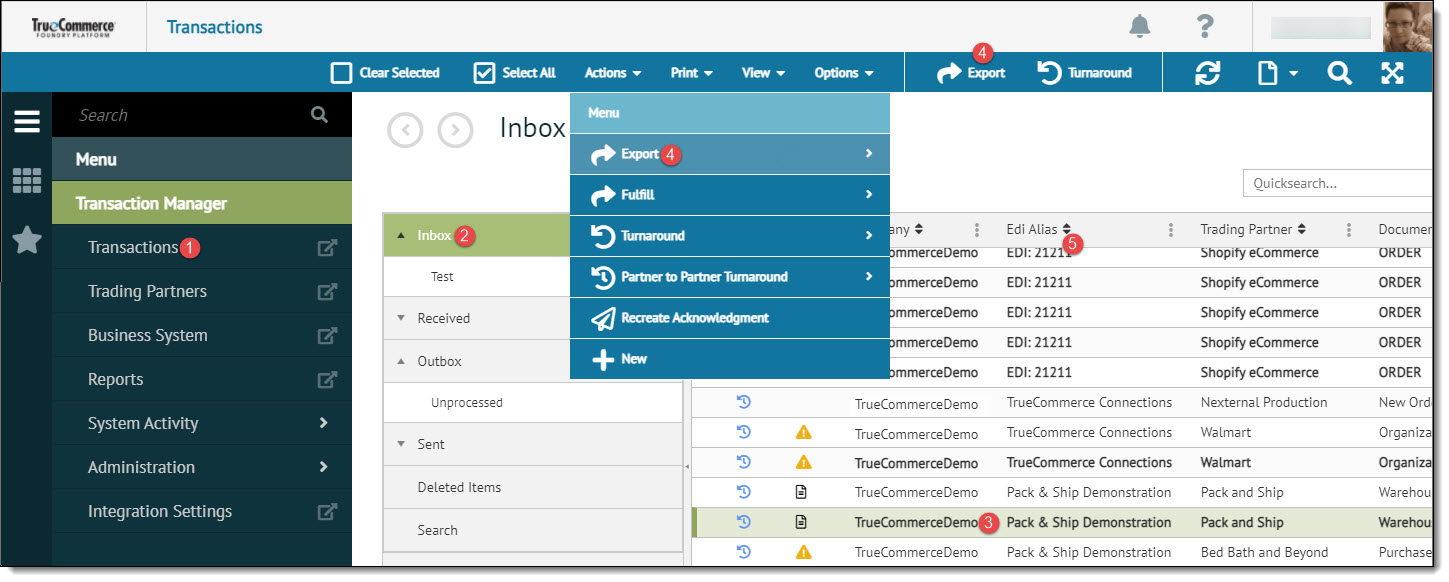
Select Transaction Manager > Transactions on the Foundry Menu to launch the Transactions workspace.
-
Ensure that Inbox is selected from the Folders menu.
-
Select one or more transaction(s) from the grid. Data selection methods are outlined under 'Working with Grids' in the Platform User Guide.
-
Click Export on the action bar. Otherwise, select Export from the Actions dropdown options and choose from Standard Export or Asynchronous Export to launch dialog for exporting your BSP.
-
Name the new Excel file and then click Save or Save As to the location of your choosing.
Exporting to Excel
To export transactions to an Excel file:
-
Select Transaction Manager > Transactions on the Foundry Menu to launch the Transactions workspace.

-
Choose a folder from the Folders menu and then select one or more transactions from the grid. Data selection methods are outlined in the Platform User Guide.
-
Select Options on the action bar and then select Export from the dropdown options. This launches your browser’s Open dialog for downloading a file.
-
Name the new Excel file and then click Save or Save As to the location of your choosing.
Related Topics
eLearning Resources